Hey everyone! In this blog, I’ll guide you through the process of installing Jenkins on your Windows 11 operating system. Before we begin, it’s crucial to have Java JDK installed on your Windows machine. If you haven’t installed Java yet then download it. Now let’s dive into it.

Step 1: Downloading Jenkins
- Open your favorite browser and search for Jenkins. Click on the first link from Jenkins IO.
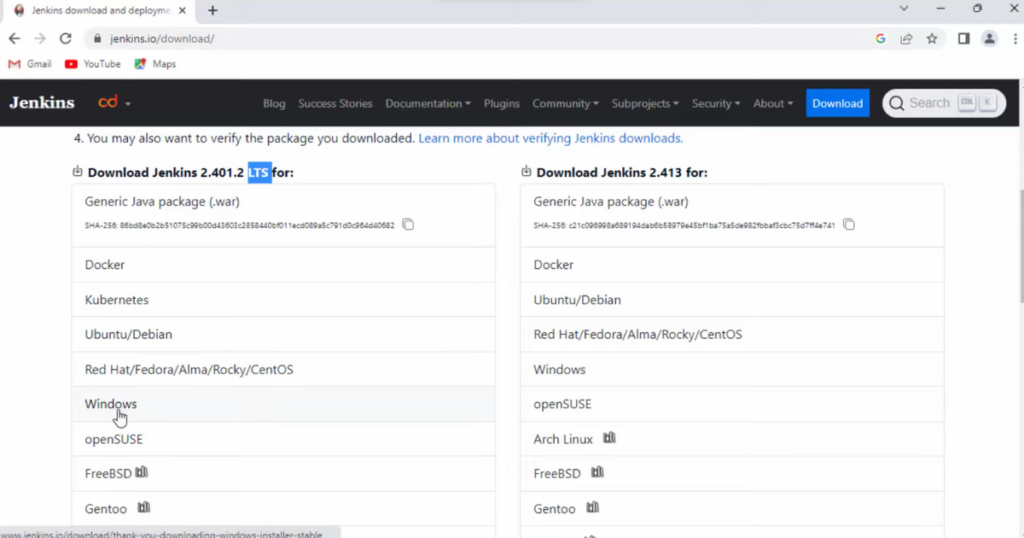
- On the Jenkins IO website, locate the download button and click on it. You’ll be directed to the Downloads page.
- Scroll down to find the LTS version for Windows. Click on the Windows option.
- Download the Jenkins MSI file. If the download doesn’t start, use the alternate link.

Step 2: Installing Jenkins
- Run the Jenkins MSI file. The setup wizard will appear.
- Click “Next” on the first window to accept the default installation location.
- Choose the option to run the service as a local system and click “Next.”
- Test the default port (8080) for availability. Click “Next.”
- Verify the path of your Java development kit. If not recognized, browse and select the correct path.
- Click “Next” leaving everything else as default.
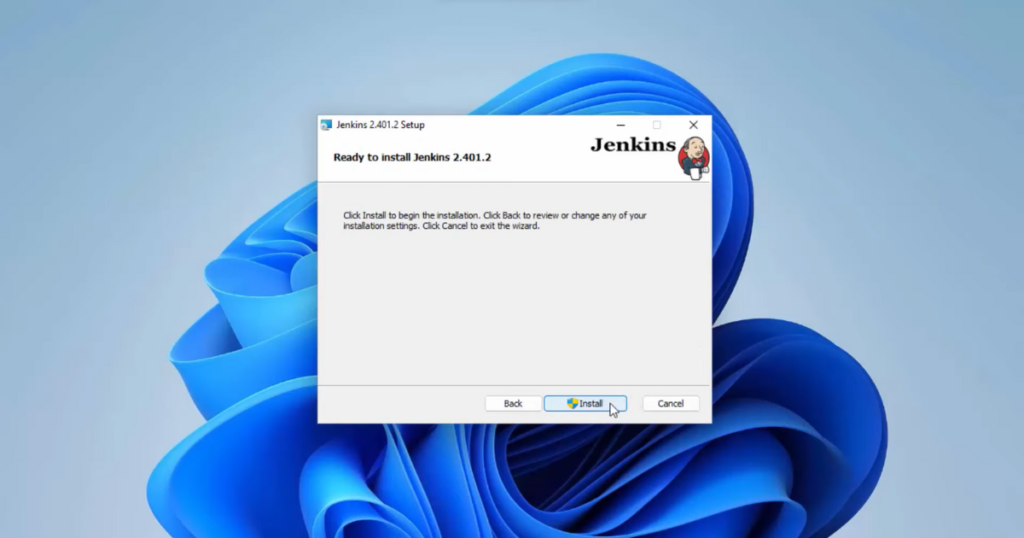
- Click “Install.” Confirm any system changes.
- Once installed, open the suggested URL (http://localhost:8080) in your browser.

Step 3: Unlocking Jenkins
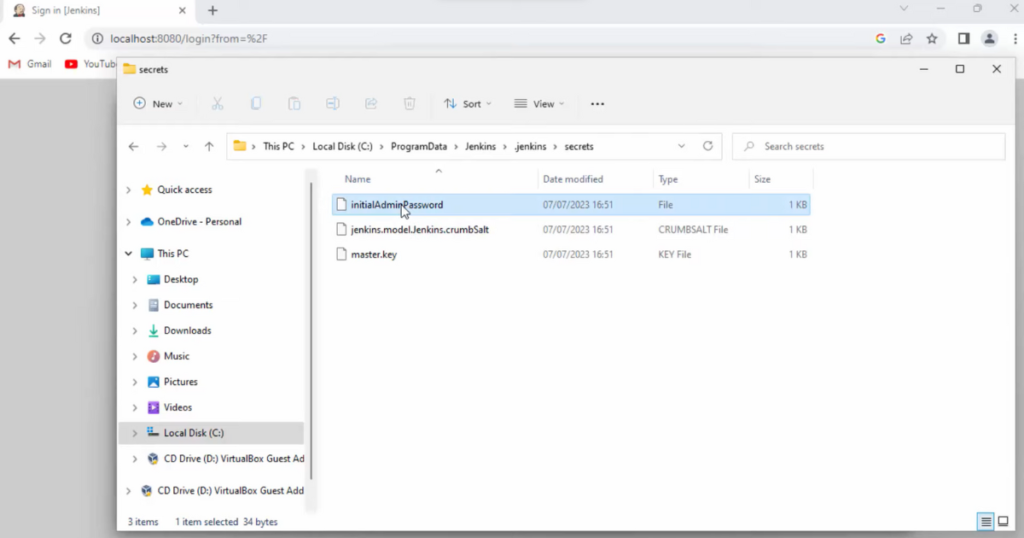
- Provide the initial password from the specified file path.
- Again go back to the same URL (http://localhost:8080) in your browser and enter the password.
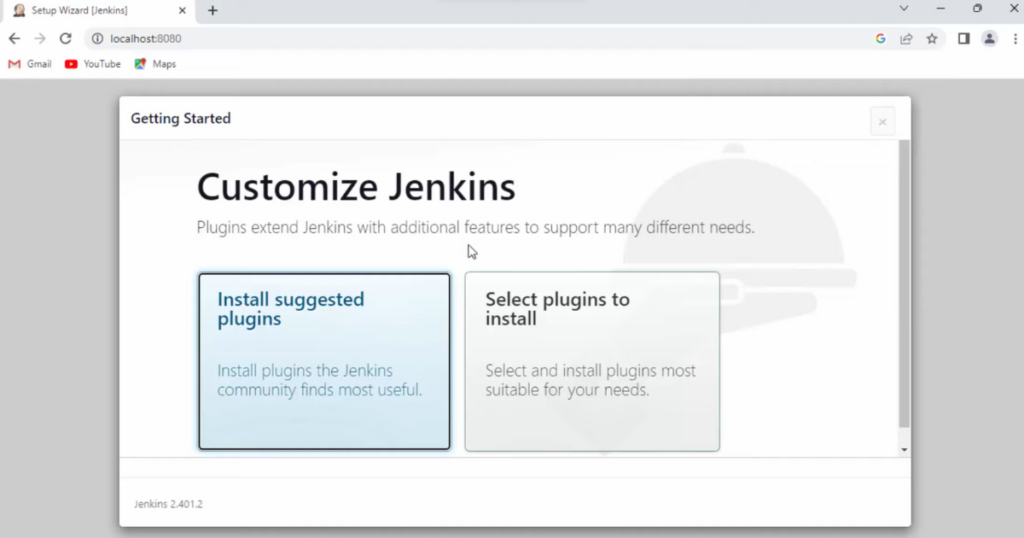
- Customize the Jenkins installation by selecting “Install suggested plugins.”
- Create a new admin username and password when prompted.
- Save and continue, then start using Jenkins.


Conclusion:
Congratulations! Jenkins is now successfully installed on your Windows 11 system. You can log in with your new admin credentials and start using Jenkins for your continuous integration and development needs. Thank you!

