Hello everyone! Today in this blog, we embark on an enlightening journey to master the installation of Jira on a Windows operating system. If you’re ready to streamline your project workflows and enhance collaboration, you’re in the right place. Now, let’s proceed with the step-by-step guide on installing Jira.


Step 1: Downloading Jira
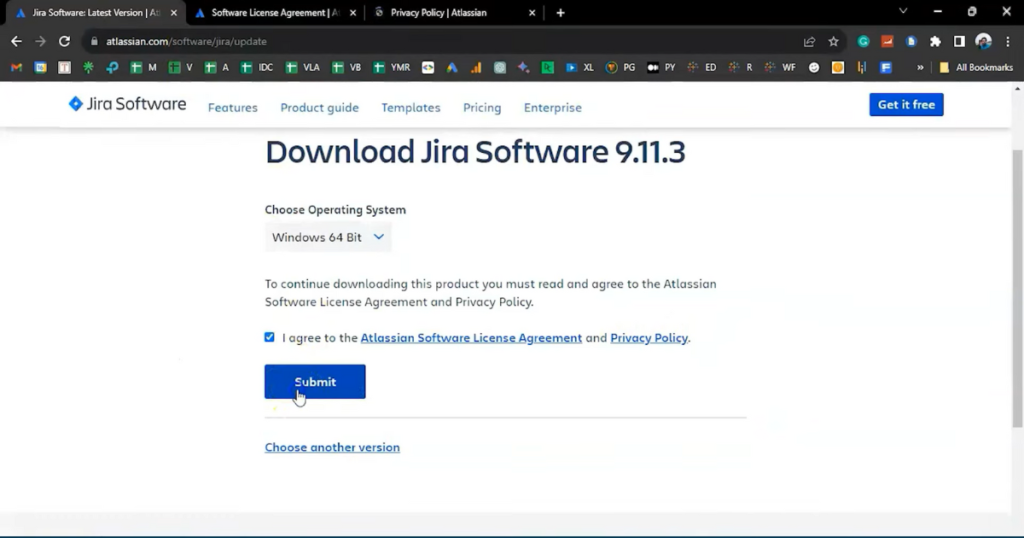
- Visit the Jira website.
- Scroll down and click on “Get Started with the Download.”
- Select the 64-bit version for Windows.
- Accept all agreements and privacy policies.
- Click on the “Submit” button to start the download.
- Once downloaded (approximately 560 MB), run the installer as an administrator.
Step 2: Installation Process
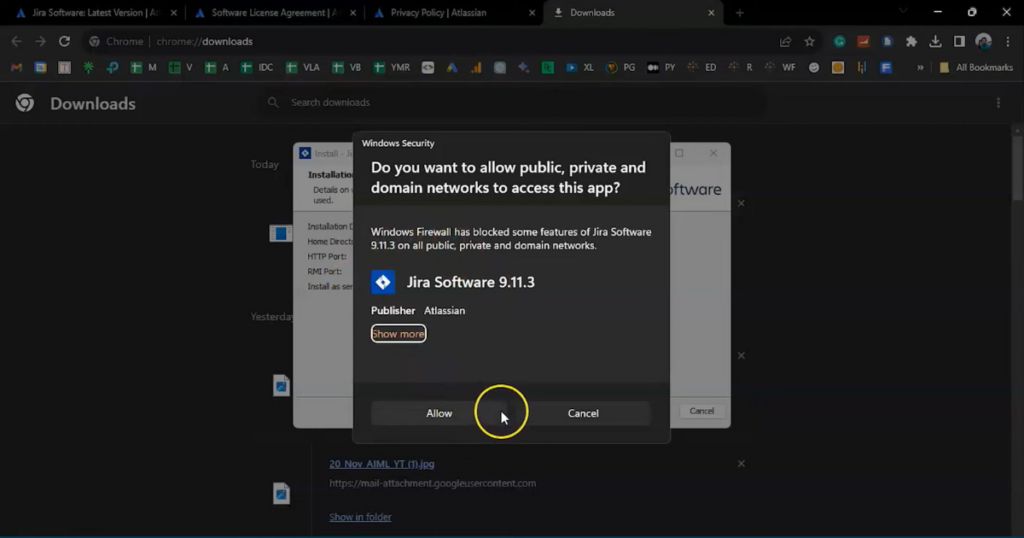
- Follow the steps for granting necessary admin rights.
- Choose the default settings for express installation.
- Check and confirm port numbers and permissions.
- Allow the installation process to complete.
Step 3: Launching Jira
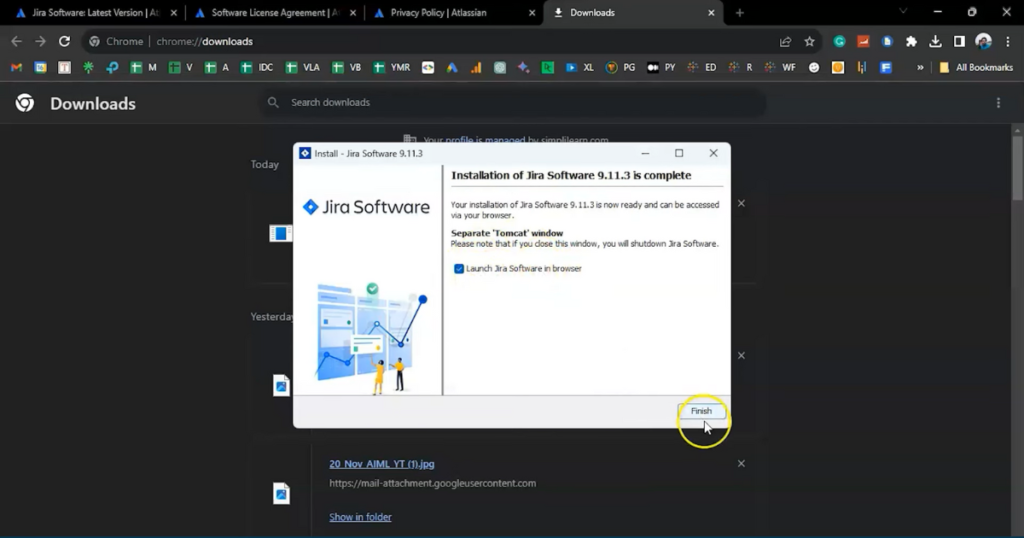
- Once installation is complete, click on “Next” to start Jira.
- Background processes, including Java environment setup, will run.
- Click “Finish” and wait for the environment variables to finish the setup.
Step 4: Creating a Jira Account
- While Jira is setting up, you can create an account on the Atlassian website.
- Search for “Jira login” and open the Atlassian website then log in or create a new account.
- Select “Jira Software” from the options.
- Explore the default projects or create a new one using the “Create” option.

Conclusion:
Congratulations! You’ve successfully installed Jira on your Windows operating system. If you have any questions or need additional resources, feel free to leave a comment. Thank You!